While the Red final boss battle may be tough, getting to him is a bit tougher. Here are nine Pokémon Let’s Go easy master trainers guaranteed to make you the best that ever was, along with a Red boss battle guide to help you take down the ultimate master trainer.
The requirements to battle Pokémon Trainer Red are harder than ever in Pokémon Let’s Go. It’s no easy feat to fight the same Pokémon as your opponent, often at a much higher level than yourself. In order to fight the protagonist from Pokémon Yellow, you need to conquer 6 master trainers to prove to the OG Pokémon master that you have what it takes to defeat his all-star team. You’ll find a Red boss battle guide below the easy master trainers FAQ.
In this guide, we’ll list out the 6 Pokémon Let’s Go easy master trainers in order of easiest to hardest. This includes being able to use a freshly caught Pokémon, and taking advantage of exploits to ensure a surefire win against the master trainers. You cannot battle the Legendary master trainers, so don’t bother trying to put your freshly caught Mewtwo, Zapdos, ect. to use here.
If I reference grinding, it’s via this method. The short of the below-linked video is that you use two Joy-Cons to chain together Chansey catches in Cerulean Cave, yielding you up to a whopping 22,000 Experience Points per encounter.
9 ‘Pokémon Let’s Go’ easy master trainers FAQ, ranked
The setup for the master trainers is generally going to be the same. Before you start your battles with the master trainers, you’ll want to gather the following TMs:
-Dig (Story TM in Cerulean City)
-Protect (Give the girl on the rooftop of the Celadon Department Store a Lemonade)
-Toxic (Defeat Koga)
-Fly (Route 16 house, use Cut)
-Rest (Team Rocket Hideout, BF 2)
-Brick Break (Rock Tunnel entrance Coach Trainer)
Teaching your starter a priority move will also aid you in their master trainer battle. I chose to use the critical hit guaranteed priority move Zippy Zap for my Pikachu. You can learn this in the Cerulean City Pokémon Center from the move tutor.
The goal here is to stall out your beefy opponent with Toxic. It may seem too simple to work, but it does.
1. Chansey – Level 75
Difficulty: 1/10
Location: Fushia Pokémon Center
Suggested Moveset:
-Toxic
-Protect
-Brick Break

This is by far the easiest master trainer battle because of Chansey’s horrible Attack Stat, and the fact that you can easily catch a level 48 in the wild in Cerulean Cave. Just enter the cave, Surf north, and go up the ladder to find the den where Chansey spawn.
There is absolutely no grinding needed, as your Chansey is at a great level to take down its Level 75 opponent. Your opponent will always set up with both Light Screen and Reflect. These are a joke in a Toxic stalling set, even when your opponent knows Softboiled.
Start the battle with a Toxic, as will be standard for all of these easy master trainer battles. Brick Break will help you smash through any barriers they set up, but only use that if Protect was your last turn. He only ever retaliates with Seismic Toss, but it won’t do nearly enough damage so as to kill you. Keep this up and the opponent Chansey will be down in 7 turns or less.
2. Fearow – Level 80
Difficulty: 1/10
Location: Route 18
Suggested Moveset:
-Toxic
-Protect
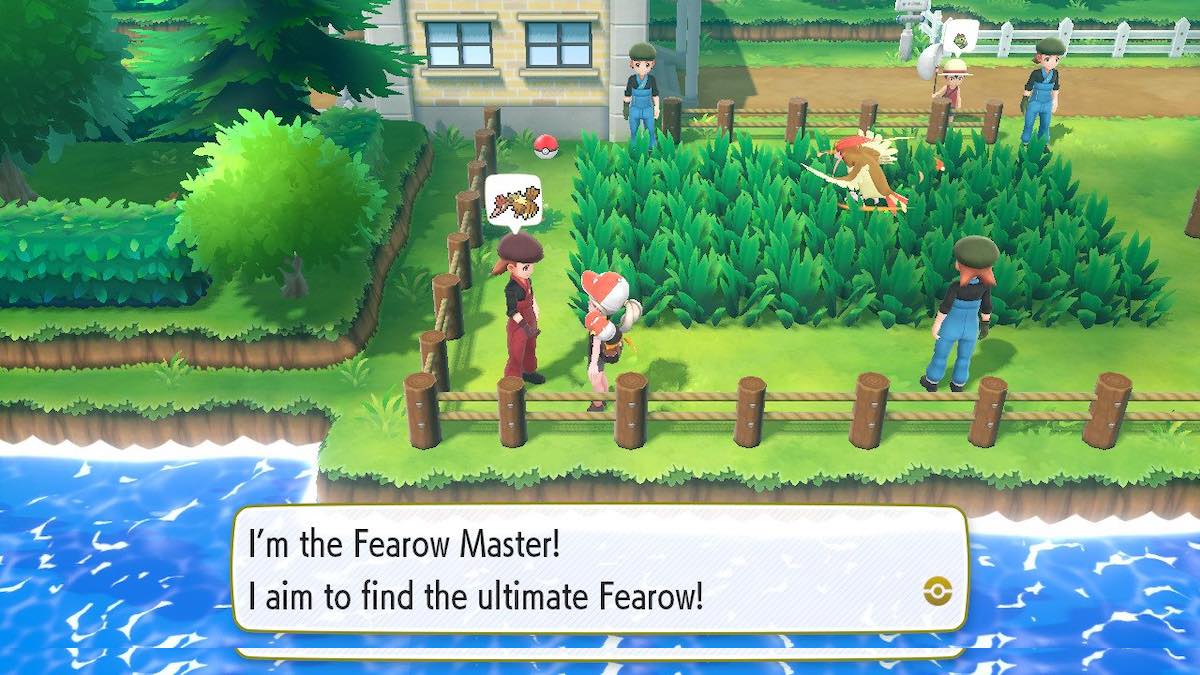
Fearow is a no brainer of a Master Trainer battle. It uses Sky Attack, which makes taking it down as simple as catching your own Fearow of any level. The Fearow Master Trainer will always leave himself open to attacks by using Sky Attack, which is basically a worse version of the move Fly.
For the Fearow, you can keep it simple by starting off with a Toxic as he charges the first turn of Sky Attack. Then, spam Protect on the second turn of Sky Attack to block all incoming damage, rendering the opposing Fearow completely hopeless. The battle will be over in half a minute, and you’ll be the victor of this easy Master Trainer battle.
3. Growlithe – Level 70
Difficulty: 1.5/10
Location: East of Celadon City
Suggested Moveset:
-Toxic
-Protect
-Rest (optional)
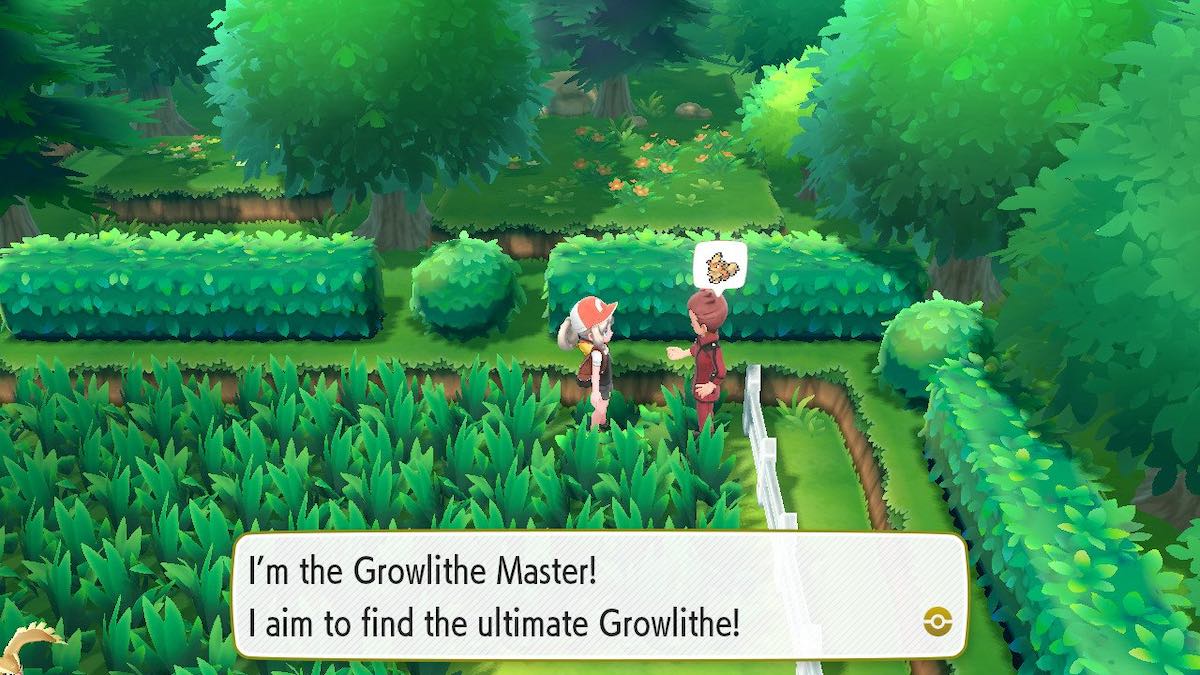
The opposing Growlithe is equipped with a pretty pathetic moveset. With it having Dig and Reflect, you shouldn’t have any problem in taking down this firey pup. Funnily enough, the Growlithe Master Trainer seems to have taken a leaf from our books by equipping his Growlithe with Toxic as well.
The Master Trainer will almost always start off with a Dig. Since you’re slower than it, do any attack to wait out the turn, or blindly try out your luck on the first turn with a Toxic. You want to see a turn one Reflect, but if he leads with Dig, use a Protect on the second turn. When he has come back up from the ground, throw out a Toxic in the hopes that your opponent uses Reflect.
While the Master Trainer does have the ability to use Toxic, he did not do so in my battle against him. I was able to effectively wait out the Toxic stalling to take out the Growlithe, easily claiming my Master Trainer badge of honor.
4. Pidgey – Level 65
Difficulty: 1.5/10
Location: Route 2
Suggested Moveset:
-Toxic
-Protect
-Fly
-Rest
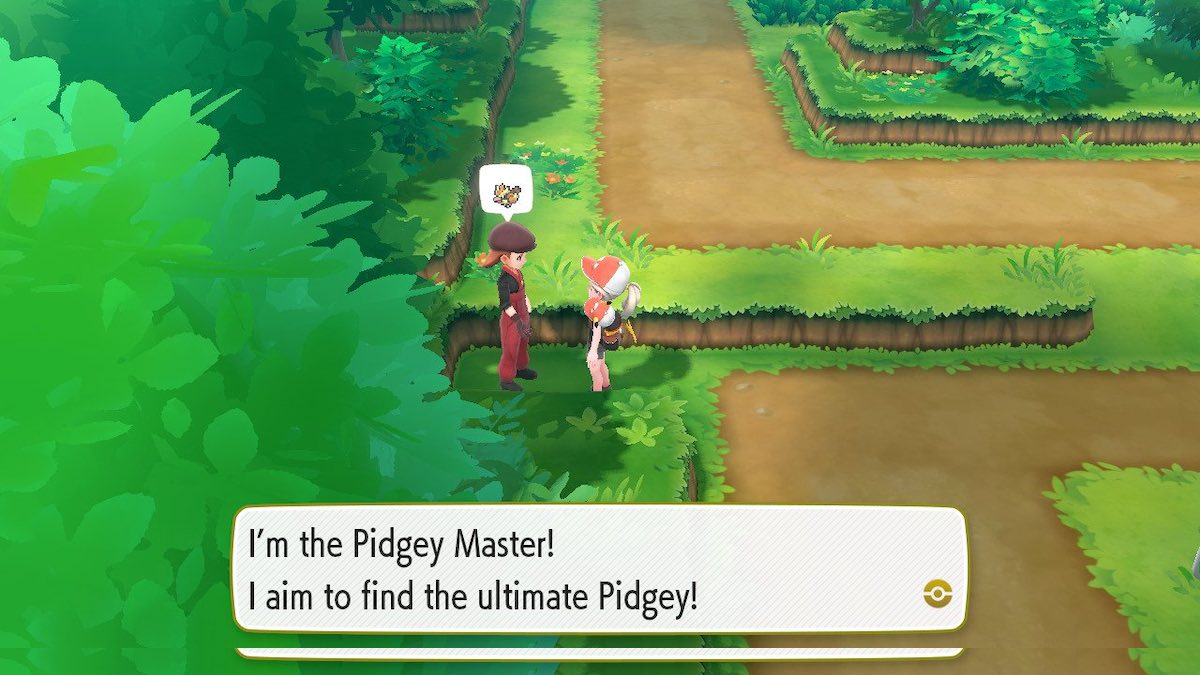
Pidgey’s Master Trainer battle is one of both parties stalling the other out. The opponent is equipped with Fly, Protect, and yes, Toxic. The fatal flaw in the opponent Pidgey’s stall tactics is in it knowing Roost over Rest. This battle can be easily won using a freshly caught bird, as long as you have the above four TMs to take down your opponent.
The opponent Pidgey will usually start off by using Fly. Follow suit and use your own Fly, and if you’re slower than them, you will be impervious to all damage. Do this 15 times in a row to stall out all of the opponent’s PP for the move (along with your own). If the opponent uses Protect in the middle of its Fly spamming, simply use one of your own Protects on the next Fly that will hit you to balance things out, PP wise.
After you’ve both run out of Fly PP, it’s time for the Toxic stall. As the opponent no longer has any offensive moves, they will also try to Toxic stall you. If they do, simply use Rest to remove the ailment from yourself. Eventually, the opponent will die to Toxic, despite their best efforts to stay alive via Roost, earning you the Pidgey Master Trainer badge.
5. Poliwag – Level 65
Difficulty: 1.5/10
Location: Route 12, behind the cut bush
Suggested Moveset:
-Toxic
-Protect
-Dig

This is yet another battle where you need only to capture a wild Pokémon and then send it immediately out into battle. Catch a Poliwag while surfing at Cerulean Cave’s entrance. I caught mine at level 53.
The Poliwag master trainer will have a level 65 Poliwag, all the more making this an easy battle. It has Hypnosis, Headbutt, and Hydro Pump at its disposal, none of which will kill you in time. If he happens to hit you with a successful Hypnosis, simply restart the battle. Toxic, Protect, and Dig your way into another very easy win.
6. Lickitung – Level 70
Difficulty: 2.5/10
Location: Celadon Western Guard Station, up the stairs
Suggested Moveset:
-Toxic
-Protect
-Dig

The Lickitung master trainer uses moves that all lack a 100% accuracy: Fire Blast, Thunder, and Blizzard. It knows Disable, but it never used it in my battle.
You can catch a level 54 Lickitung in the same place as Chansey in Cerulean Cave. Once again, there’s no need to grind and level this Pokémon up. All you have to do is wait for a couple of misses from the opponent’s inaccurate moves and the Toxic stall will take its turn.
You should be able to survive one hit of any of the opponents three attacking moves. If your opponent misses on your first turn, then you’re already off to a great start. Use Toxic regardless of what happens, and then Protect on the next turn.
Next, cross your fingers for another missed attack so that you can stall out another turn with Dig. When you come back up, use Protect again. Feel free to use another Protect for the last attack, as it has a slight chance of working immediately in succession. You will win by either a lucky second Protect or your opponent missing their attack. At this point in the battle, Toxic’s poison will stack and K.O., awarding you the title of Lickitung Master.
7. Lapras – Level 75
Difficulty: 3/10
Location: Lavender Town, Pokémon Tower, Fourth Floor
Suggested Moveset:
-Toxic
-Protect
-Thunder/Thunderbolt (optional)
-Confuse Ray (optional)

This Lapras is powerful, but does have some fatal flaws in its design, namely in its usage of the two-turn move Solar Beam. This is another luck battle, as the harder ones in this FAQ boil down to, but it’s by no means impossible.
You get a Lapras for Free in Saffron City’s Silph. Co on the 7th floor. Simply walk West of the elevator and then South to the NPC on the righthand side of the keycard unlocked room for a level 34 Lapras. You can grind this Lapras if you choose, seeing as it may have changed how the AI was reacting in my fight, but it’s likely that it’s good to go right at level 34. I entered the battle with mine around level 40.
All there is to do here is open with Toxic and hope for a string of Solar Beams. Seeing as you can always see them coming, use Protect right before they rip through all of your HP. Alternate with an Electric-Type move to tack on more damage for the sake of seeking critical hits. The Lapras never used Confuse Ray on me, but feel free to do so yourself if you’d prefer to go that route. If it uses Thunderbolt, you’re likely dead, but if you keep at it, as this game of luck will see to it that you Toxic stall your opponent in around 5 or 10 attempts.
8. Pikachu – Level 75
Difficulty: 3.5/10
Location: Viridian Forest. Enter from Pewter, then go South and follow the bend up North.
Suggested Moveset:
-Toxic
-Protect
-Dig
-Zippy Zap

This Pikachu will want to spam Slam on you. However, he may try to setup on you, which is your in. Always lead with Toxic as your first move in the hopes that he will use Light Screen. Your next move is Protect to block the incoming Slam. This is where you’ll need just a little bit of Dig luck, but seeing as you’ve had your starter the longest, it will do things like avoid incoming attacks or endure them to 1 HP so that “you don’t cry.” Thanks, Pikachu!
If you don’t want to rely on your Pikachu loving you, then grind it up a bit using the Chansey Cerulean Cave method in the video at the top of this FAQ. I had mine at level 46, and it only took me a couple of attempts to win this battle; however, skill will have less to do with winning this battle than luck of your Pikachu choosing to love you (maybe give it a few extra pets and berries before the battle?). If you faint, soft reset so that your Pikachu won’t love you any less.
If you survive the Slam attack, your Dig move will activate. The rest of the battle is pretty much a guaranteed win if your Pikachu has a decent special attack stat. You’ll use Dig after your opponent’s next move, giving you just enough damage (combined with Toxic) to whittle down the enemy Pikachu’s health down to Zippy Zap range.
9. Aerodactyl – Level 75
Difficulty: 4/10
Location: Pewter City Fossil Musem, 1st floor
Suggested Moveset:
-Toxic
-Protect
-Fly
-Rock Slide (optional)

This Aerodactyl is only as difficult as your luck is poor. Much like the other battles on this list, you want the opponent’s move to miss. It will spam Iron Tail at you, which does kill you in one hit, but has only 90% accuracy.
Catch your own Aerodactyl by visiting the side of the museum by cutting away at the bush. Get the Old Amber from the scientist in the back, and give it to the scientist in the last room in Cinnabar Island’s laboratory to receive back a Level 44 Aerodactyl.
By now, you know the drill: hope for Iron Tail, and hope that it misses three times. Start with Toxic, then Protect if you survive. Fly if you survive the next Iron Tail, then attempt two more Protects in a row. It took me around 15 tries to win this game of luck.
‘Pokémon Let’s Go’ easy master trainers complete!
And just like that, you’re ready to take on Red! After you get any 6 Master Trainer titles, he will appear just outside of the Indigo Plateau building. You’re not allowed to use items in this battle, and his Pokémon are all high leveled.
‘Pokémon Let’s Go’ Red Boss battle FAQ guide
Red is a tough trainer, and even tougher yet with the stipulation that you cannot use items of any sort in this battle. While he is the toughest trainer in the game, know that you can still beat him, mainly using the Mewtwo that you caught in Cerulean Cave.
If you’re not shiny hunting, feel free to use your Masterball on the Mewtwo, as there really isn’t anything with a lesser catch rate than it in the game. The battle timer to catch Mewtwo goes quickly and it may try to sweep your whole team, so just equip a beefy Pokémon, such as a Snorlax or your starter, with the classic Toxic/Protect combo. Add a team of 5 randos in your party with Protect to stall out the easy Toxic win. The Green boss battle will be available immediately after you catch Mewtwo (ouch, stop bonking me on the head with those Poké Balls!).

Now that you have your Mewtwo, you should train it up a bit using the Cerulean Cave Chansey chain catching method, as is detailed at the top of this guide. Get it to around level 75, and you’ll be able to squeeze a win out of Red; however, you may want to grind your Mewtwo three or four levels above that to secure the win. Also, make sure you get the Mewtwoite X and Y stones (found in the location where Mewtwo was standing after you defeat Green), as they are necessary to power up your Mewtwo all the more in the last boss battle of the game.
With Mewtwo sufficiently buffed, equip it with the following moveset: Calm Mind (TM was given to you after you defeated Sabrina), Psychic (already known, but can also be found in Saffron City, in a house South of Silph. Co if you talk to the man there), Thunderbolt (TM was given to you after you defeated Lt. Surge), and Blizzard (TM located a little right to the ladder that leads up to Moltres on Victory Road 3f).
I’d suggest farming some Snorlax from Cerulean Cave for the remaining 5 slots in your team. If you have any other tanky Pokémon, they can be added to your team, such as your starter, any of the Legendary Birds, or a leveled up Aerodactyl. I used a beefy Alolan Dugtrio as one of my tanks for its speed and resistances.

Snorlax will populate in the room where the Chansey spawn in Cerulean Cave 2f. To ensure more of this rare Pokémon pop, use any type of lure. Give them Toxic, Protect, and any variation of strong move, such as Psychic or Earthquake. It’s unlikely they’ll get a chance to attack at all, and are there for when you’re forced to switch out, or need to Toxic stall any of Red’s beefy team.
Now it’s time to jump into the Red battle! He can be found outside of the Elite Four’s Indigo Plateu after completing 6 of any of the Master Trainer battles (see above guide for the easiest master trainers that I was able to find in the game).
He will always lead with his level 85 Pikachu (every member of his team is level 85). Be glad that it’s not an evolved Raichu, as it’s pretty buff, all things considered. Don’t expect to go first, as its speed is one of its best stats. If you’re lucky, the AI will react with a Reflect, which raises the defense stat of his team. This stat is not relevant, as you will be buffing up your Mewtwo’s Special stat and attacking using Special type moves exclusively.
The first thing you should do is Mega Evolve your Mewtwo into Mega Mewtwo Y, giving its Speed, Special Attack, and Special Defense stats a meaty boost. I found that it’s best to lead with a vanilla Psychic, taking Pikachu out in one hit before it can bring down any of your precious HP via a Thunderbolt.

Lapras will almost always come out next, and it’s probably the toughest to defeat on Red’s team. Switch out immediately to a Snorlax or other Toxic staller. Once again, do not expect to outspeed this beefy Pokémon. As long as you survive a hit from Megahorn or Waterfall, your Toxic, should it hit, will start the stall. Use Protect the next turn, and rinse and repeat until it dies from the Toxic stall tanks. You can send out your Mega Mewtwo Y if you want to help expedite the process by using a Thunderbolt, or even a strong Pikachu that knows Zippy Zap, so as to avoid the damage of Lapras’ last turn.
Next will likely be either Machamp or Arcanine. Either isn’t entirely too difficult for your Mega Mewtwo to take out. In the case of Machamp, start off with a Calm Mind as it uses Hyper Beam; you likely wouldn’t be able to one hit it anyways, although you should be able to outspeed it. It will be recharging on its next turn from the Hyper Beam. You can choose to do another Calm Mind if you prefer, but Red’s AI is smart. For the entirety of this battle, I’d suggest taking the one hit KO on any of his Pokémon when you know you are able to. Use Psychic to kill the Machamp.
Arcanine has Roar, and it likes to use it on you due to the Calm Mind buff (and sometimes, even without). You may outspeed it and be able to sneak out a Psychic before you’re forced to swtich. If you get a Pokémon called out that can tank a hit, try to use a Toxic, then Protect. He will likely use Heat Wave, taking down most any member of your team. After your Roar-ed Pokémon faints, send back out Mega Mewtwo Y. Once again, you can try to use a Calm Mind here, and likely should. Either way, it will die to two or three Psychics, depending on your Mewtwo’s level and the Toxic’s stage. Arcanine will end up doing a decent amount of damage with Heat Wave, so try your best to take it out as quickly as possible, especially since it can choose to use Will-O Wisp.

As Red sends out his Snorlax, send out a tanky Pokémon capable of surviving Body Slam, and use Toxic, then Protect; send back out Mewtwo when your staller dies (you may be running low or be out of stalling Pokémon by this point, but you should be able to take out the rest with Mewtwo). Red’s Snorlax attempts to stall you out here, so you must approach with a decent strategy to take it out before it Rests or it Toxics you, sapping your Mewtwo or its precious health. Use one or two Calm Minds, depending on what moves he uses/how much health you have left. Time out your big Psychic hit when he has a little over 1/3 health left, ensuring that whatever your Psychic doesn’t cover will be sapped by Snorlax’s current Toxic stage.
Your party may be struggling by this point, but you’re only left with his final Pokémon now: Venasaur. Thankfully, it’s nowhere near as tough to take down as any of his other Pokémon are. Spam Blizzard, ensuring that it hits once or twice to take down Venasaur. It won’t retaliate with anything too strong, and typically sticks with Sludge Bomb, and at times, Leech Seed.
While this all may take a few tries, it is possible to take down Red’s team with just a smidge of luck and only a decent amount of Chansey grinding. Savor this last battle, as it will be the biggest challenge of your Pokémon: Let’s Go playthrough! There isn’t much of a reward after you beat him, other than the satisfaction that you’re now the master trainer.


We want to hear your thoughts on this topic!
Write a comment below or submit an article to Hypable.