The Kingdom Hearts 3 Pirates of the Caribbean ship battle toward the end of the level may be one of the toughest in the game, but this guide will get you back to smooth sailing in no time.
In any RPG, battles wherein your current level doesn’t have merit over how difficult or easy the current battle is can turn what should be just another boss into the monster that is the Kingdom Hearts 3 Pirates of the Caribbean ship battle sequence.
Thankfully, there are some quick ways to get through this boss battle, with minimal level grinding, or even none, if you’re feeling impatient.
‘KH3’ ‘Pirates of the Caribbean’ ship battle boss guide
You’ve likely already had a little bit of trouble at the beginning of the level while racing Luxord’s fleet to Port Royal. Since then, you’ve received an upgraded ship thanks to Calypso’s magic white crabs (sorry, there’s no way to make that sound any less weird). Unlike your first ship, this one comes with a block command in Water Wall, and the ability to get others through white crab level grinding.

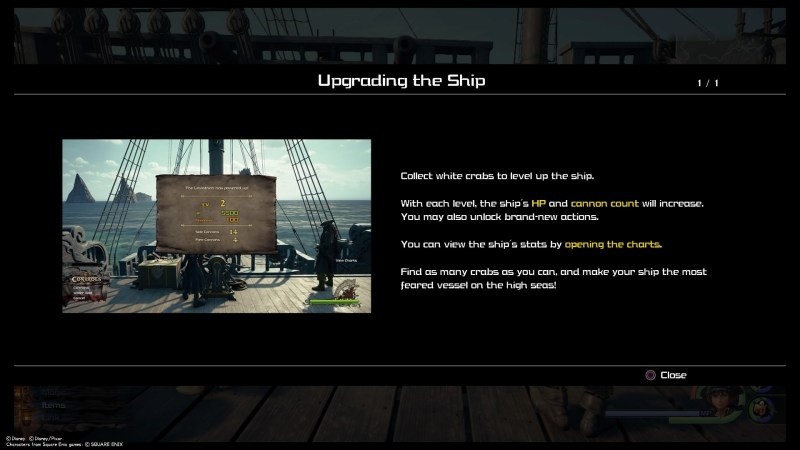
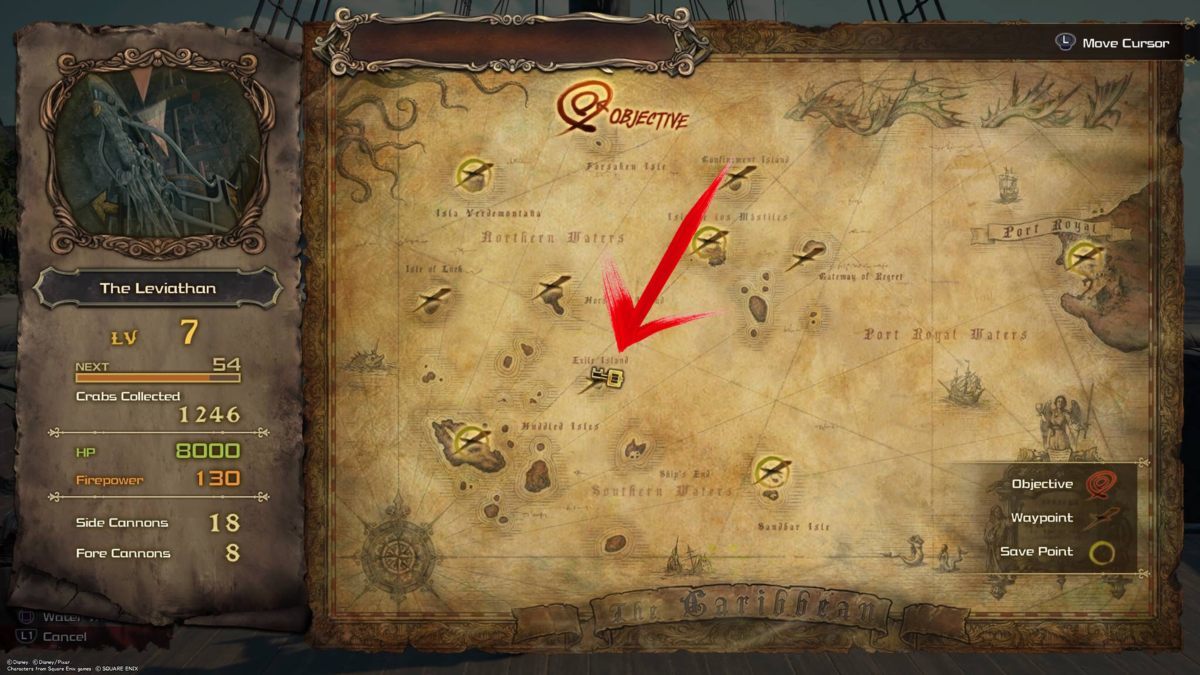
If you’re getting stuck while going into the penultimate Kingdom Hearts 3 Pirates of the Caribbean ship battle boss, consider gathering more white crabs from Port Royal. Going to the top of the jail tends to be the fastest way to gather a good amount of crabs. Another great place to go is Exile Island, marked on the map below. Gather enough crabs to level up your ship a level or two, giving you increased health, cannon power, and a handy command, Surge.

While not necessary, Surge will allow you to ram into enemy ships, and gives you invincibility frames (i-frames) for its duration. It does a decent amount of damage, but isn’t as quick as aiming for the dark energy balls on the sides of the ships.
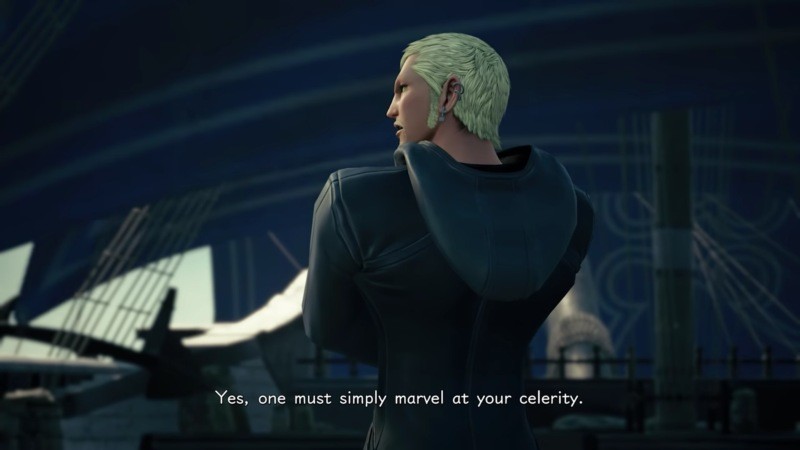
Whether or not you leveled up your ship (I did not and still won both the ship battle and following Kraken boss battle), head up to the top of the map to activate a cutscene wherein Luxord summons a fleet of Heartless battleships.
The first wave is pretty easy to melt, given you have good aim, patience, and skill. The goal here is to take as little damage as is possible so as to preserve your health for the second and much more difficult wave.
‘KH3’ ‘Pirates of the Caribbean’ ship battle tips for the second wave of Heartless
– Controlling the ship is wonky, especially in such tight quarters. Avoid hitting islands, and thus impeding your movement, by watching the minimap, and steering clear of them before you get too close to them.
– Your cannons can only fire off another round if the previous one has collided with a target. Keep this in mind when balancing out the distance you’re keeping between yourself and enemy ships, while weighing out how much reaction time you want to have for enemy attacks.
– Spam the Water Wall command as much as you feel the need to. Slow and steady wins the battle here, and since there’s no cost to block, but no means to heal throughout the whole battle, consider your defenses until you see an opening in enemy forces.
– Aim for the dark balls on the sides of all ships. It often one-shots ships, and does a lot more damage to the larger ads than just vanilla body damage would. It’s tempting to just keep shooting at big ships on a side where you’ve already cleared the dark balls; consider maneuvering your ship to the other side of the enemy to attack the other set of dark balls.
Taking down the second wave of the Heartless fleet
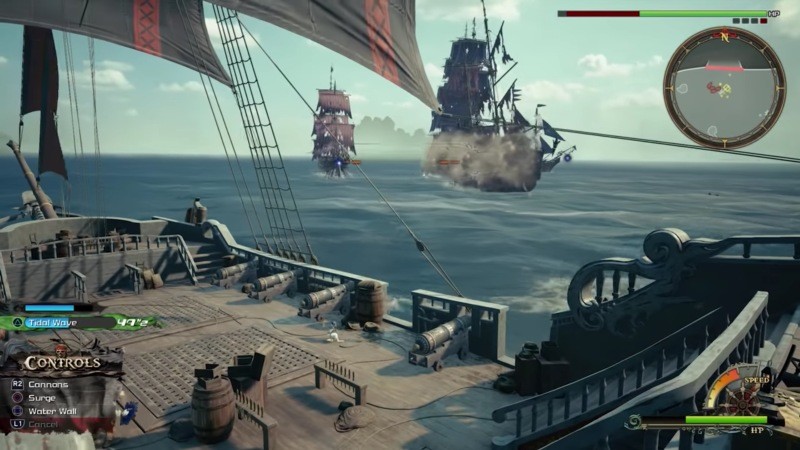
Going into the second wave, try and make sure that you have at least one of the special commands loaded up from the previous wave. Special commands charge faster if you kill ads; keep this in mind throughout the battle as you fight through the surrounding ads to reach the Big Boss ship. While Wind Chasers does a lot of damage, you’re left open to enemy fire, as it doesn’t allow you to use the Water Wall defense command. Think twice before using that special command when considering how much health you have left. Tidal Wave is a much better special command because of its AOE damage and i-frames. Use L2 to scroll through which command you want to use if you have multiple ones available.
If you take out the entirety of the ads, more will spawn in the others’ place. Leave one or two ads surrounding the Big Boss so as to avoid spawning even more ads to annoy you. Unfortunately, this battle is very annoying because of the enemy’s technique: to teleport around the stage and ram into your side. If you have Surge, spam it to get out of the way of the ships aiming for your side, along with Water Wall if you see them sending out cannon rounds.
When you’ve sailed out of the way of the ships, take aim at the dark balls on the sides of the ships. Just as you did in the first wave, shoot two or three rounds in between enemy rounds. When you see the enemy sending out their shots, immediately get your Water Wall ready, and send it up just before the rounds reach you to avoid most or all damage. Be careful to mind the slow-moving dark energy ball homing attacks; they can be dissolved midair with a well-aimed cannon shot.
Rinse and repeat until you’ve taken out all of the dark balls of the Big Boss ship. It will sink well before all of its health bars have been defeated, so don’t be intimidated if it seems beefier than it actually is.
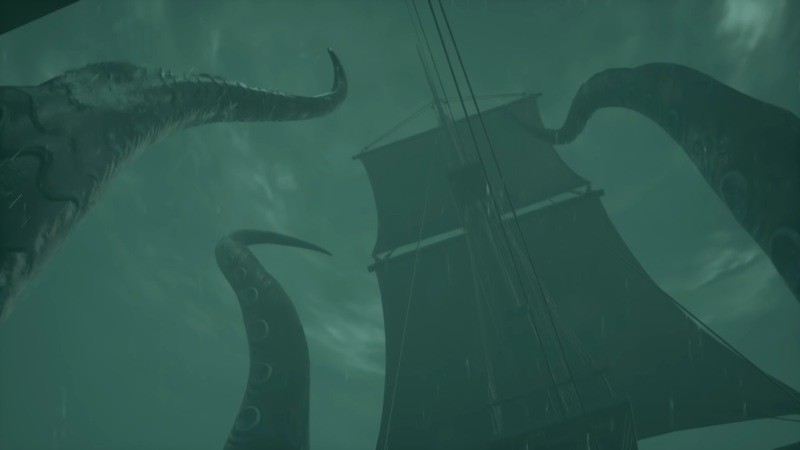
Taking down the Kraken
Now that you’ve proven yourself capable of dealing with much more intense forces, the Kraken will seem like a piece of cake, in comparison. The Black Pearl is being held captive by the sea creature’s tentacles, and the Flying Dutchman is taking shots at both yourself and Barbosa’s ship. The Black Pearl would always die before yourself, seeing as it’s taking damage from both the Flying Dutchman and the Kraken.
While you cannot win the battle until you’ve taken down the Kraken’s health down to 0, you need to make sure that The Black Pearl survives the venture. It will be a little tight, but if you sneak in a couple of shots at The Flying Dutchman’s dark balls, you will be doing yourself a lot more help than you may have thought. Although it seems like The Flying Dutchman’s cannon’s are also helping you take down the Kraken, don’t be fooled: they are the enemy, and are only taking down The Black Pearl’s delicate hit points.
You need to be as quick and efficient as possible in this battle, so don’t worry as much about using Water Wall, unless your health is depleted enough to make you start worrying. Shoot at the Kraken’s white tentacles, and through the wall of the black tentacles at the vulnerable inside ones.
The black tentacles can be shot down, but doing so doesn’t bring down the Kraken’s health. Have a little bit of patience here to hurry up and wait as you seek the opportunities during which the white tentacles are visible. Use Wind Chasers at the opportune time to deal massive damage; hopefully, it will be available during the animation between the black tentacles respawning.
Next is the Davy Jones battle, but he’s very easy to hack and slash to pieces. He has a lot of health and some Kraken tentacles aiding him, but now that Sora is fighting evil forces one on one, the game goes back to its regularly scheduled difficulty. Unlike other worlds, you aren’t automatically transported to the Gummi Ship map after the level’s main story has completed. At any given save point, select the Gummi Map to continue on the game’s main story.
‘Kingdom Hearts 3’ ‘Pirates of the Caribbean’ ship battle, Kraken boss FAQ
You were given a taste of how difficult these ship battles were going to be in the opening race against Luxord and the following Heartless dogfight. Thankfully, you can put all of the crab level grinding and ship battle business behind you, as none of the ship level grinding you did here applies to anywhere else in Kingdom Hearts 3.